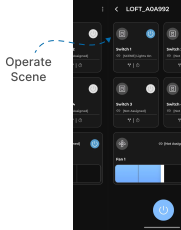
Switch Assigned to Scene
This guide explains how to setup Switch Assigned to Scene using the Loft App.
⚠️ Note: To set up a Switch Assigned to Scene, requires: 1. Touch Panel 2. Scene and ensure both are properly configured in the Loft App before starting the setup.
Watch The Video Tutorial
Steps to Setup Switch Assigned to Scene
-
Open the Loft App
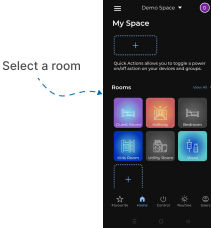
- Navigate to the Rooms section.
-
Select a Room
- Tap on the room from where you want to setup Switch Assigned to Scene.
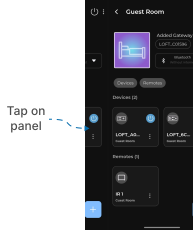
- Locate the Device
- Find the Touch Panel, Tap it to proceed setup.
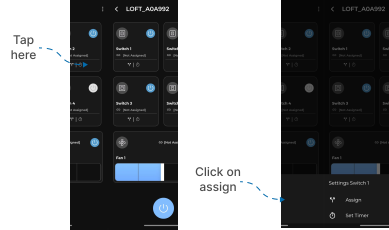
- Open the Panel Operation Section
- Locate the Switch you want to setup first.
- Tap below “Not Assigned” (this indicates no switch is currently linked).
- Switch Settings popup menu appears.
- Tap on Assign.
- Assign Scene
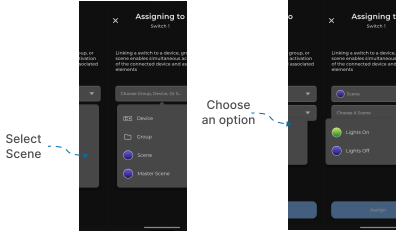
- An Assigning Screen will appear.
- From the first dropdown, select Type: Scene.
- From the second dropdown, select your Scene.
- Complete the Assignment
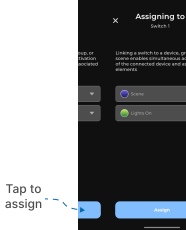
- Tap on the “Assign” button.
- Wait a few seconds for the configuration to complete.
- Switch Assigned to Scene Setup Complete
- Once assigned, your Switch Assigned to Scene setup is successfully established.
- Now, when you control the switch from touch panel, the Scene Devices will automatically operates in real-time.