Set as Switch Master
This guide explains how to setup Set as Switch Master in Touch Panel using the Loft App.
⚠️ Note: To set up a Set as Switch Master, ensure that Touch Panel is properly configured in the Loft App.
Watch The Video Tutorial
Steps to Setup Set as Switch Master
-
Open the Loft App
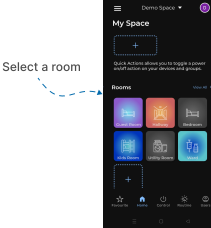
- Navigate to the Rooms section.
-
Select a Room
- Tap on the room from where you want to setup Set as Switch Master.
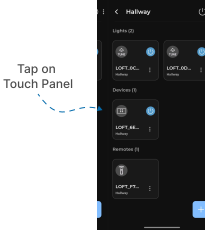
- Locate the Device
- Find the Touch Panel Device, Tap it to proceed setup.
- Touch Panel Interface
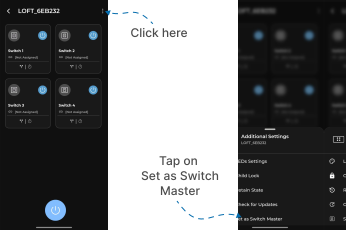
- Locate the three dots
⁝icon at the top-right corner and Tap on it. - A Additional Settings Menu popup will appear with multiple options.
- Tap on Set as Switch Master.
- Locate the three dots
- Confirmation
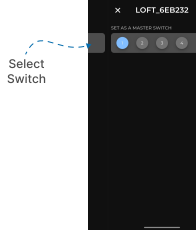
- A screen will appear with Available Panel Switches.
- Click on the switch you want to set as the Master Switch.
- This means that when you click the master switch, all the other switches will be controlled together, toggling on or off simultaneously.